The 4 Main Steps of the Mold Remediation Process
7/22/2019 (Permalink)
Step by Step Mold Cleanup Process
When people in Ross, OH, hear the term mold remediation for the first time, they often believe it is synonymous with mold removal. Unfortunately, it’s not. Mold and its spores are almost everywhere, which is natural. Special factors make them latch on to problem areas and grow in concentrated form. Because of this, remediation focuses on remedying the problem spots as opposed to claiming to remove spores for good. Here is the step-by-step mold cleanup process.
1. Check for Mold
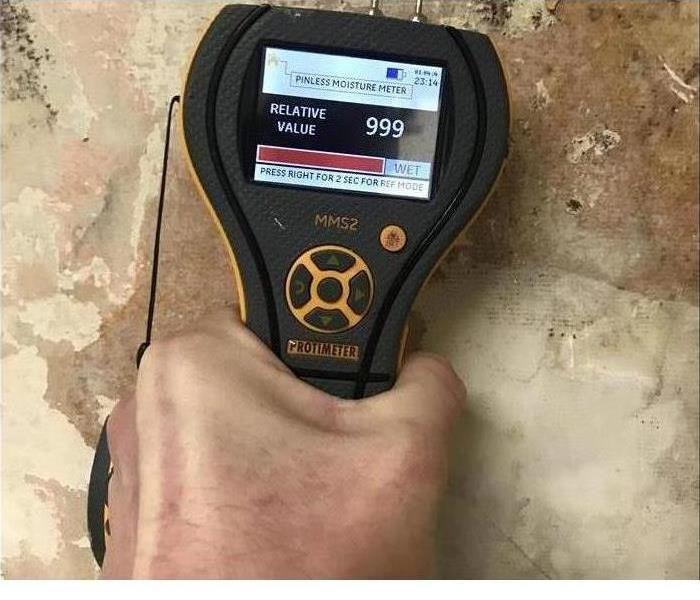
When you call mold remediation specialists, the first thing they will do is check for mold. If you can already see black mold, then mold is definitely present. However, the specialist may need to identify the type of mold, as well as seek out other affected areas. If there is a moldy smell but you have not identified where it is, then a mold test may be necessary.
2. Seal the Area
Black mold spores can spread and lead to cross contamination, so once the problem areas are discovered, professionals may seal this off. It is best to schedule cleaning when the business is closed so as not to disrupt operations.
3. Clean Up the Mold
How professionals clean the area will depend on how bad the mold is and the type of mold. The type of surface will also need to be taken into consideration. For example, tiles can be wiped down with a biocide. However, drywall or wallpaper may need to be removed and replaced.
4. Use a HEPA Vacuum
HEPA vacuums help to clean up any additional spores that professionals may have missed. Remember that not all mold is visible, as these are microscopic organisms. Thus, the vacuum helps to ensure even the mold that cannot be seen with the naked eye is cleaned up from that area.
If the area is routinely damp and dark, then you may also want to consider using a dehumidifier and HEPA filter. These help to make the area less favorable for the growth of black mold.


 24/7 Emergency Service
